Making your own symbols
Note, over time, new features are introduced into our software regularly and some screen layouts change.
Everything discussed below is still valid, although some screen layouts will now vary.
Our app ships with 253 symbols... (the '254th one' is used where you want 'no symbol' to appear in the output)
We use two types of symbols : bitmap images (used on screen and on printouts), and TTF (scalable) font which can be embedded in the advanced PDF files.
In order that the PDF and the screen show the same symbols, the bitmap and the TTF shapes are the same.
But now and then people ask 'can I use symbols of my own'?
Now, it is possible to edit the TTF font using complicated and expensive software, but we don't expect people to want to spend the time and money that involves.
The bitmap font on the other hand, can easily be amended by you, on screen.
Amended in this way, the screen, and printouts will use your symbols in preference to ours.
But you need to be aware that the symbols in the PDF file may be different, unless you turn off the TTF option.
This is how to amend our symbols and make your own.
First, look in the HELP menu, and choose 'Symbol Editor' (not available in the Lite edition)
The screen will change to look like this: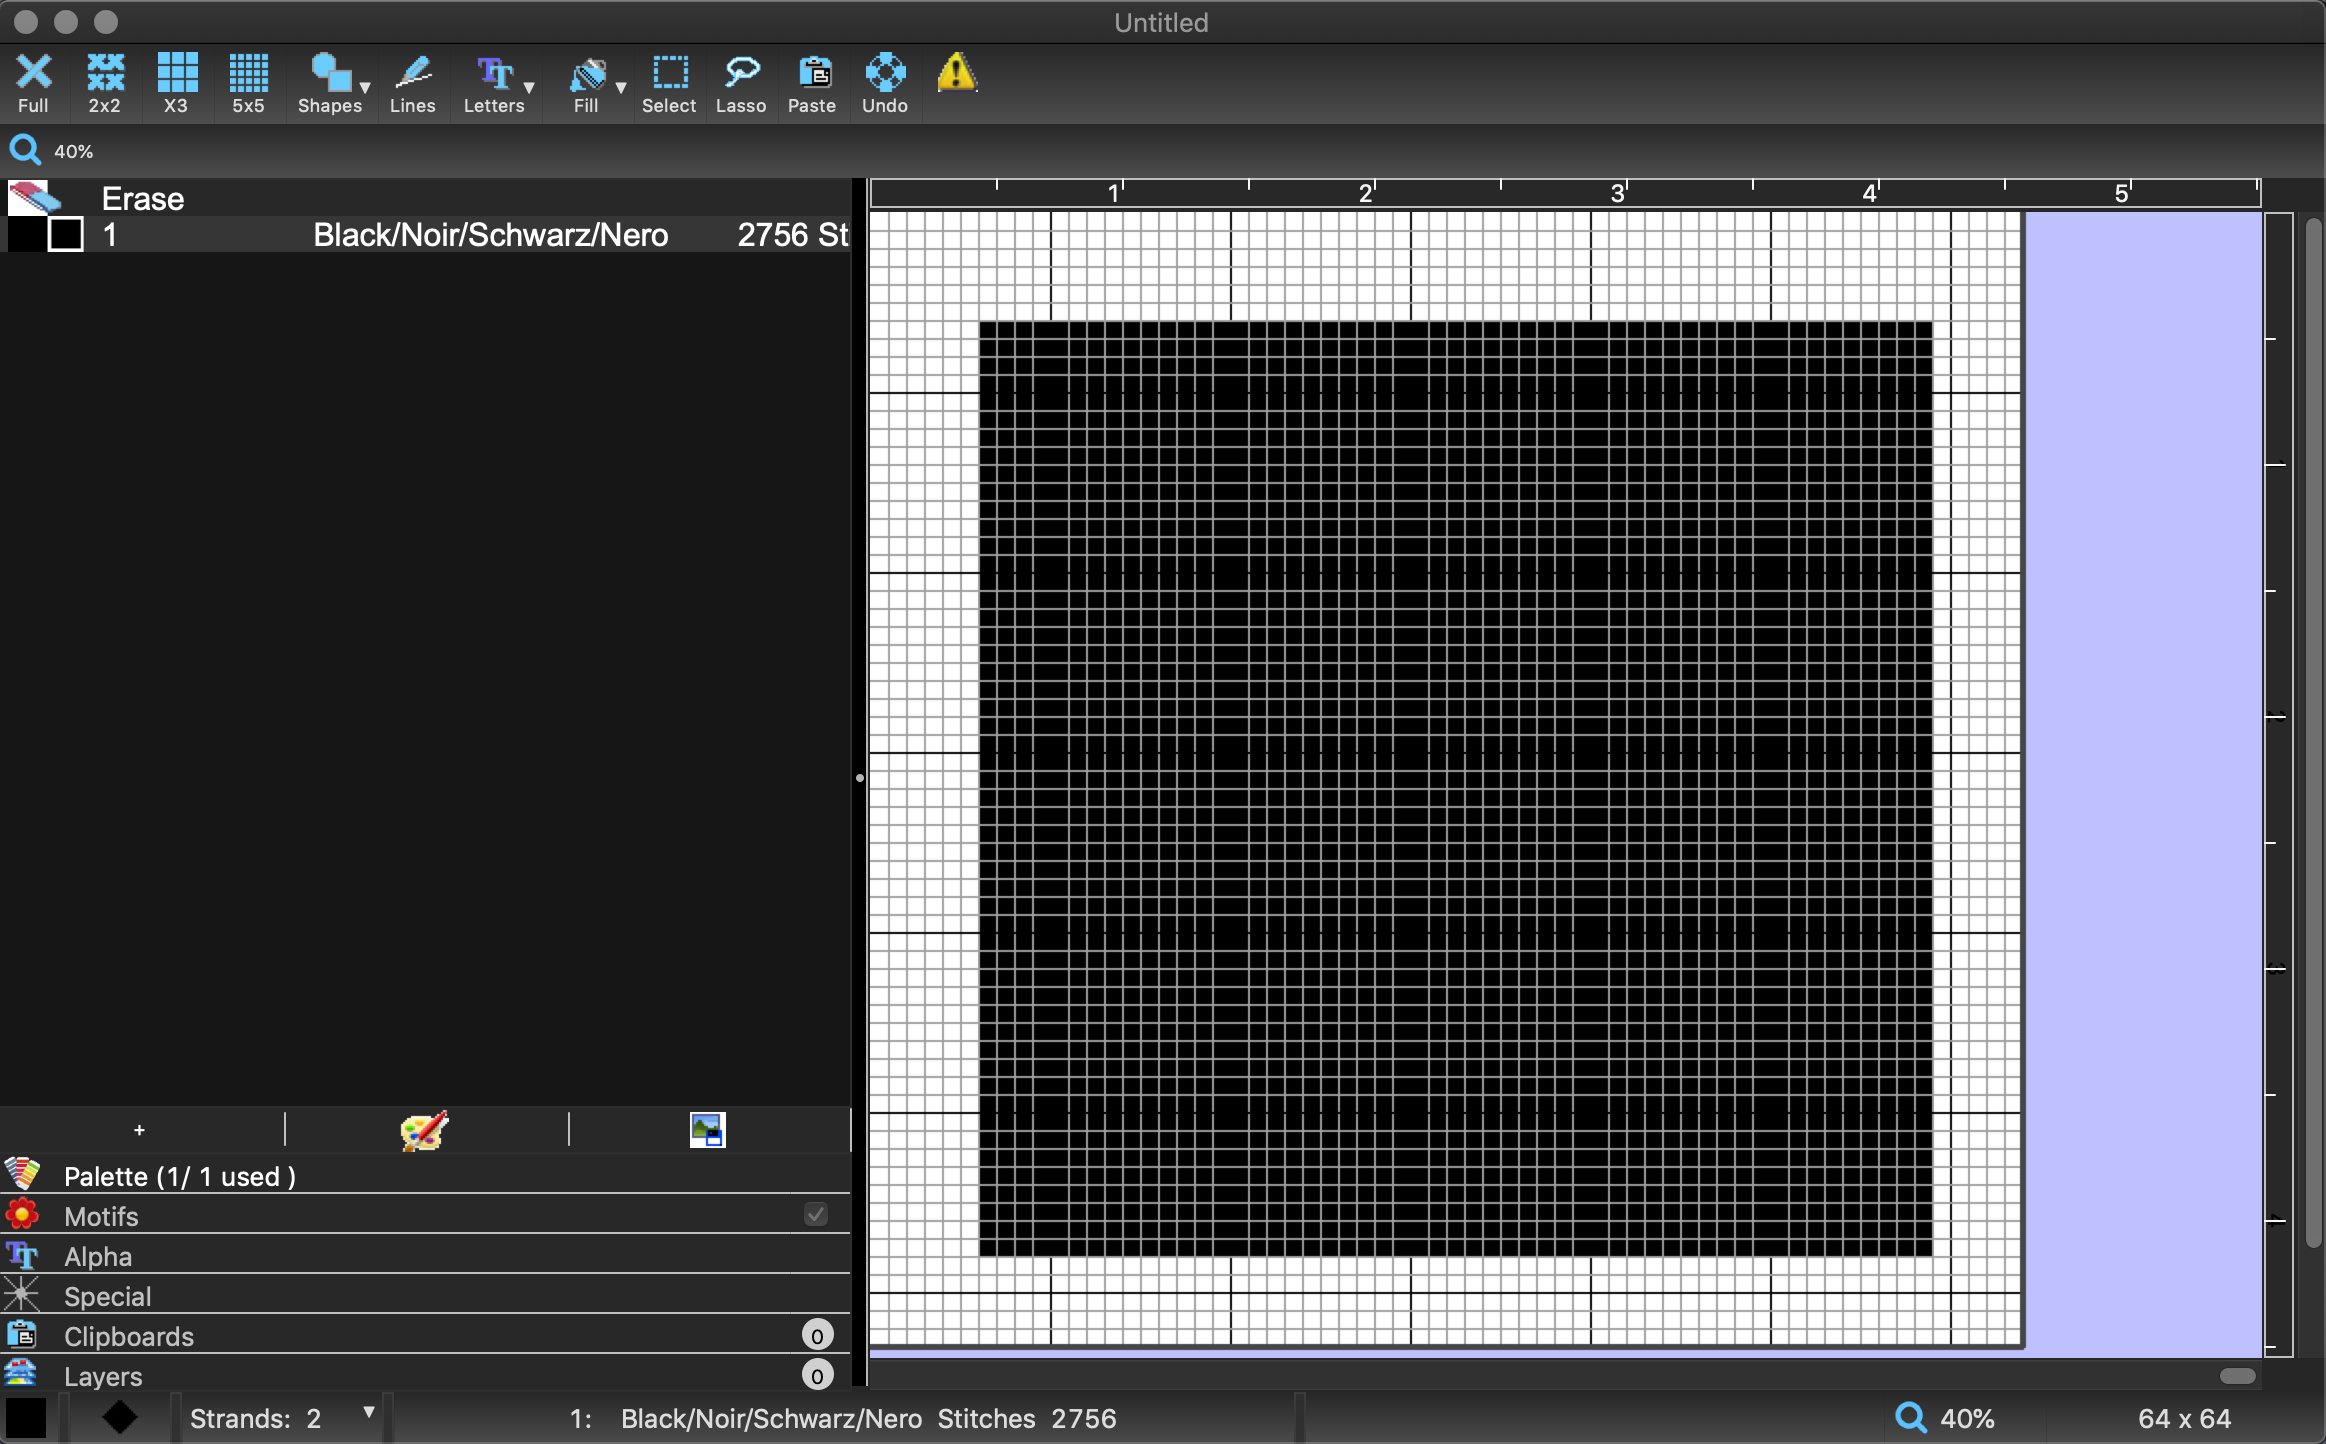
This is showing the first symbol in our list, which is a large black square.
All symbols are made up from a grid of black and white dots , in a 64 x 64 grid.
We can draw or erase dots here in the same way as we do when drawing a cross stitch pattern.
Let's leave this square alone, and pick a different symbol to change.
Click on the symbol at the bottom left of the screen, to get the symbol selector:
Now, select a 'victim' from among the existing symbols.
Here, I have selected the 'Bell' shape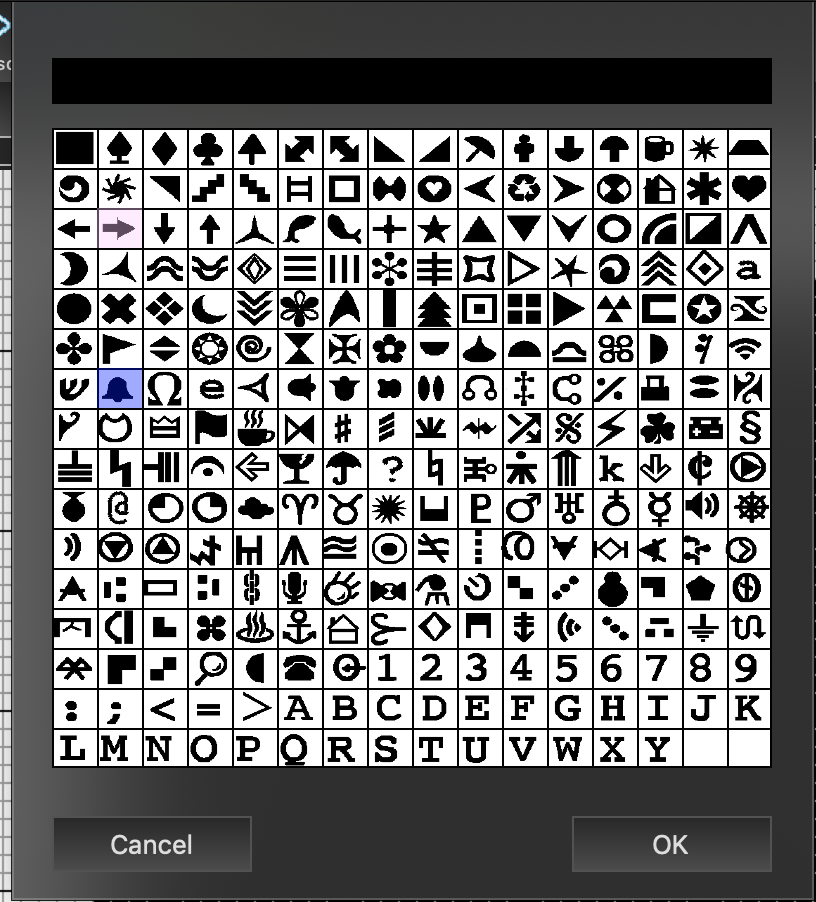
Click OK, and the screen will show the bell in detail.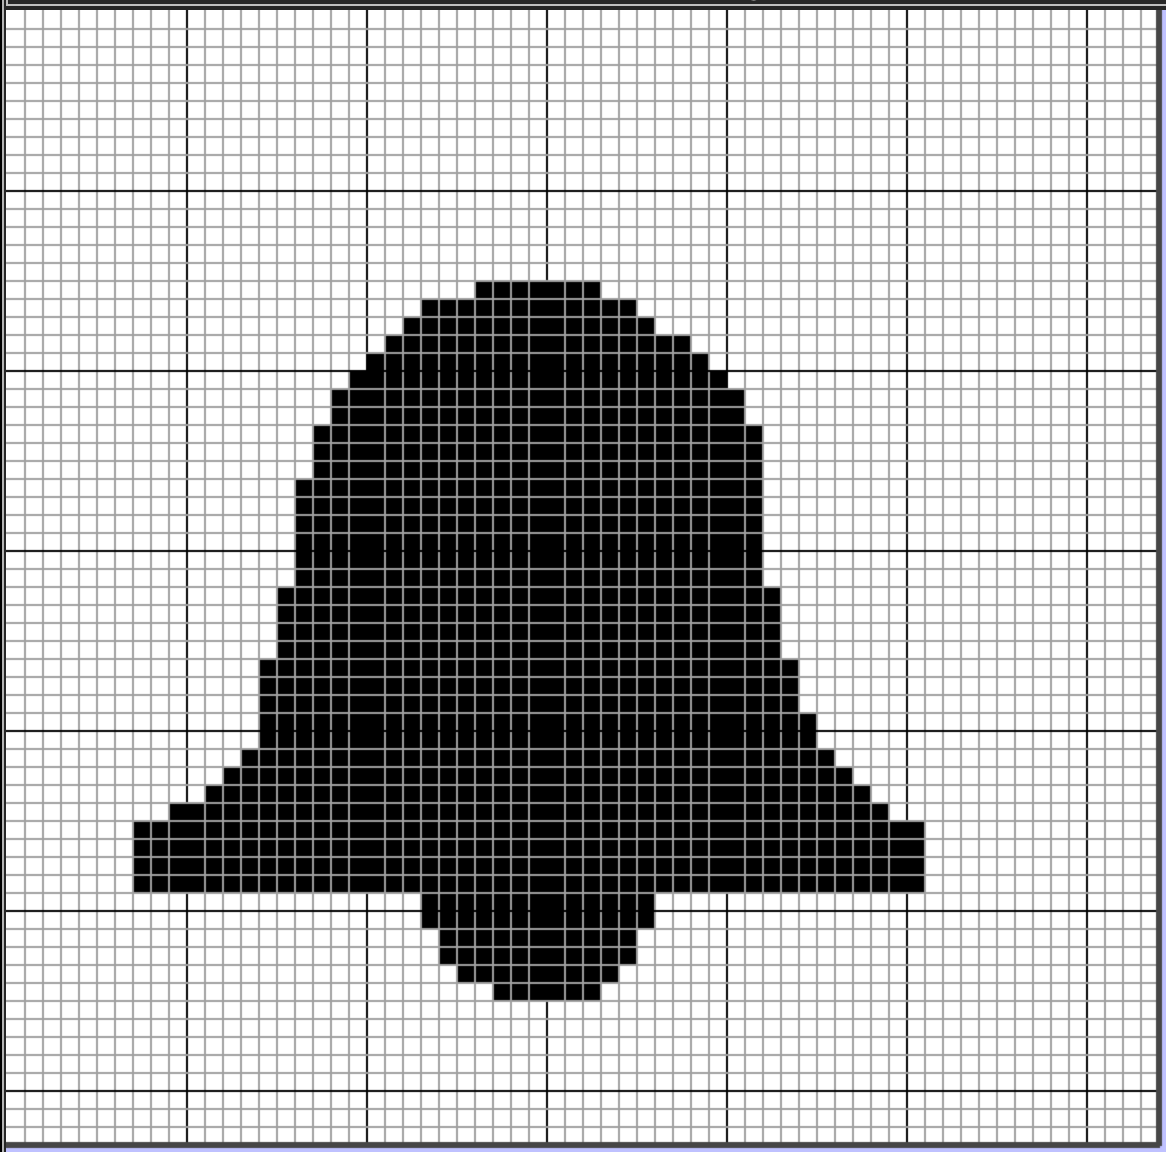
Im going to turn that into a cat shape.
To do that, I use the right mouse button (or hold the CTRL key down) to erase, and I draw a filled rectangle to erase the black, using the filled rectangle icon on the toolbar. (I could also have used edit/select all, the edit / erase, or I could have clicked the erase color and used flood fill on the black area)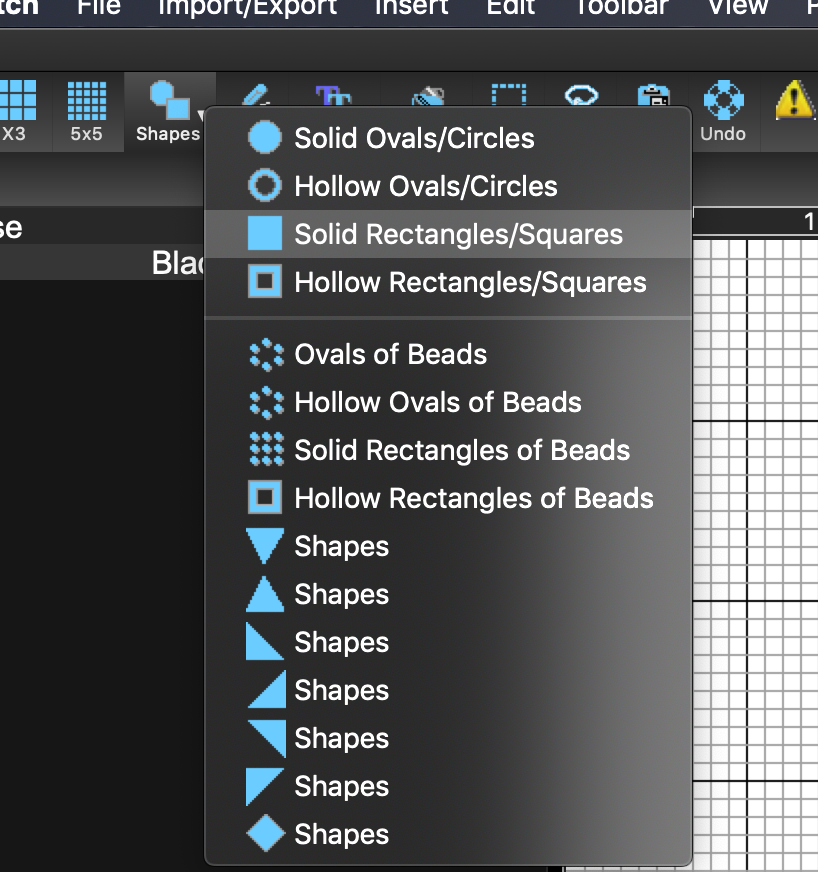
This leaves me a blank grid.
Next, I draw two ovals, using the filled oval tool from the toolbar.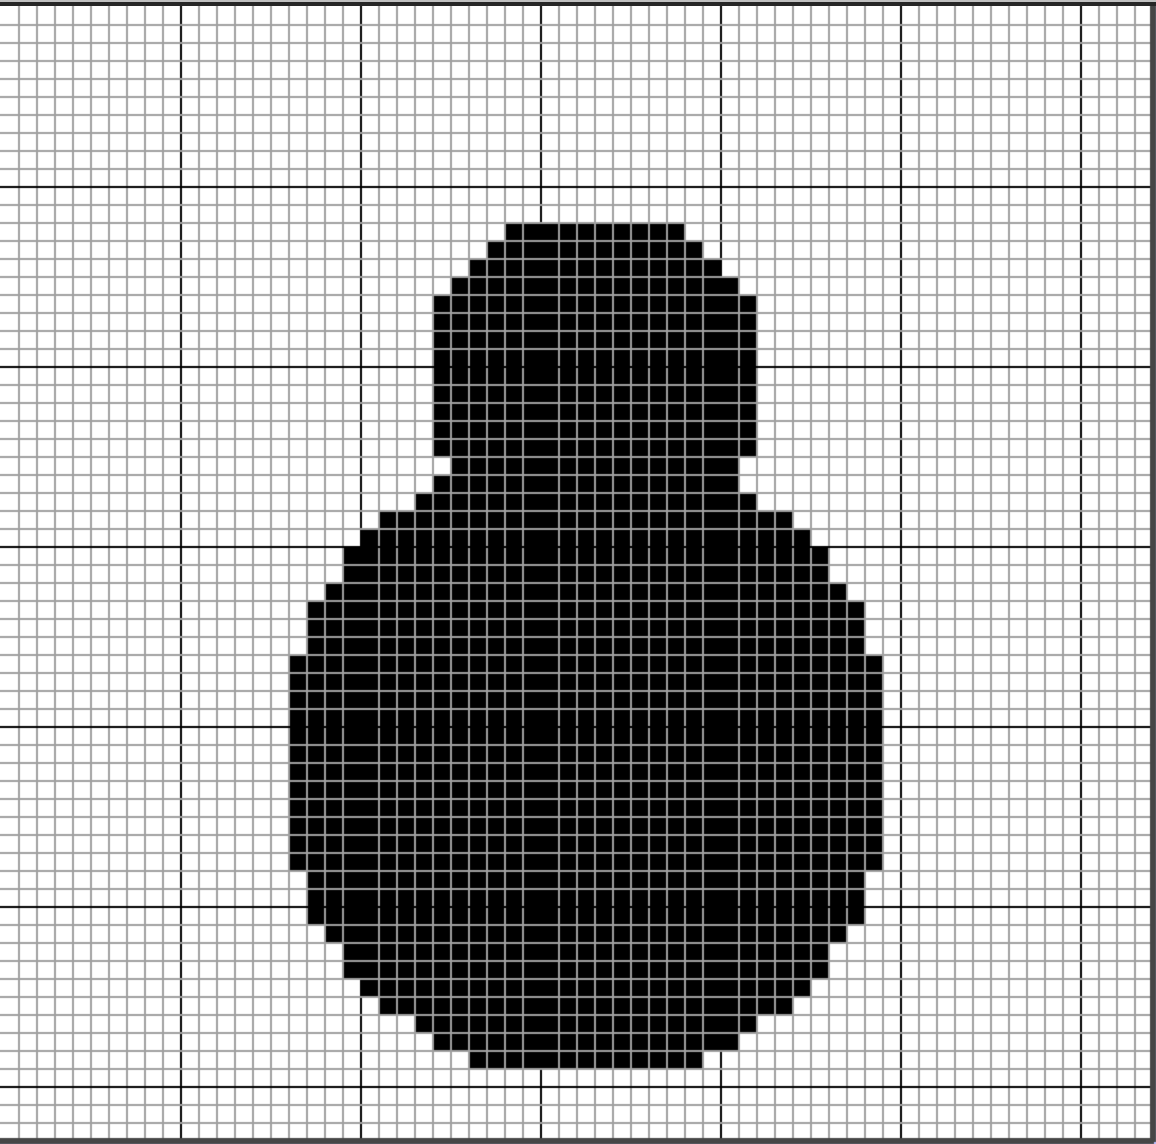
Choose the single stitch icon on the toolbar: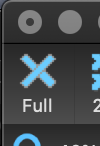
Using the left mouse button, add some ears and a tail, and we can stop there: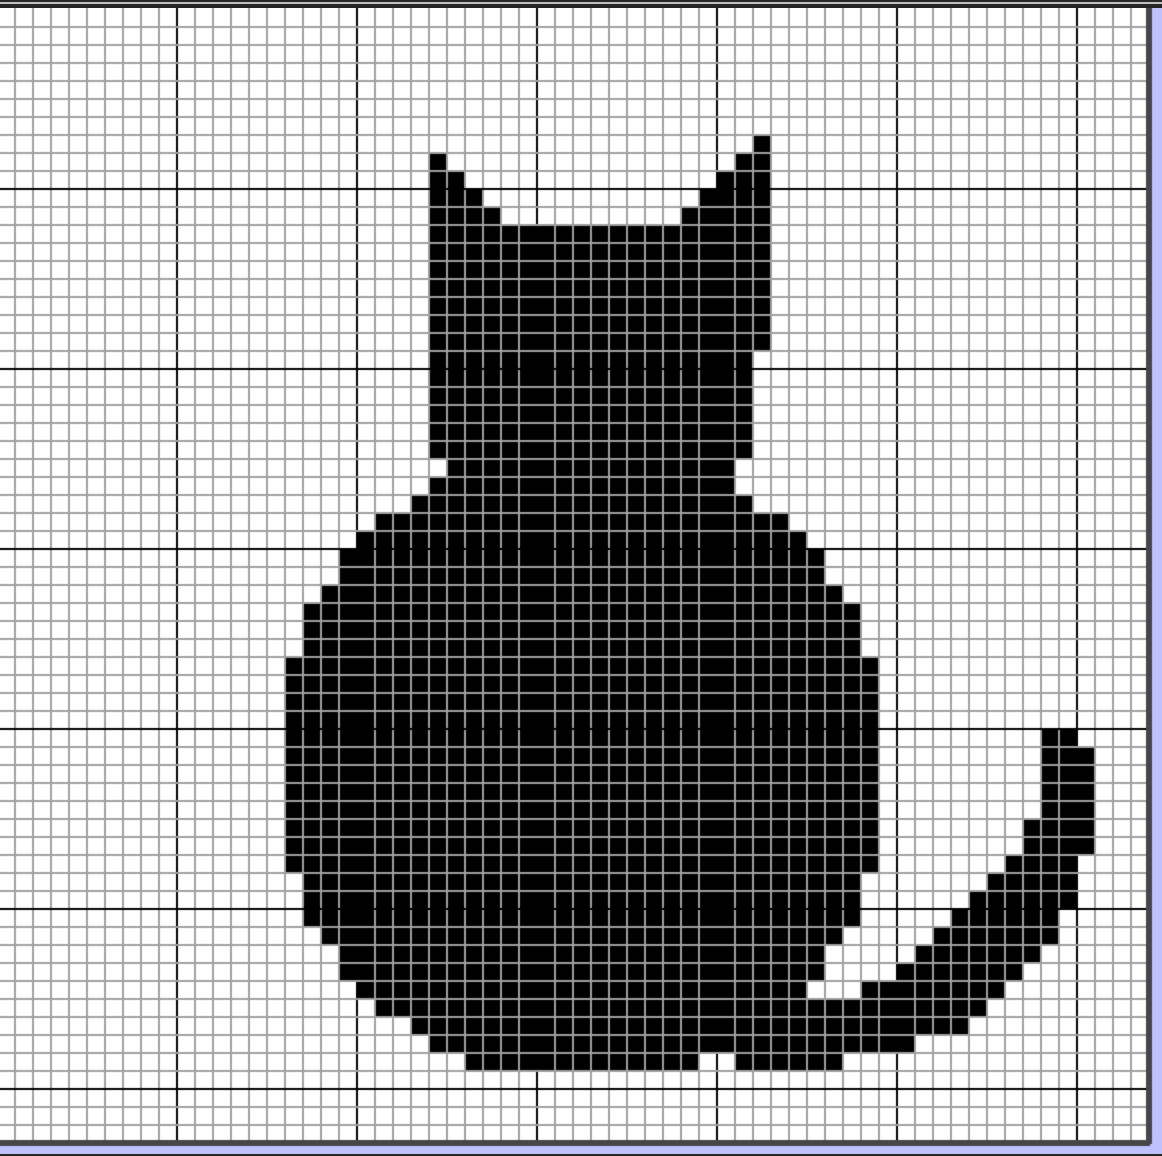
Next, we choose another symbol from the list, (and you can see our Cat has taken its place in the symbols)
For this one, I will use a symbol from a font on my machine.
Click the Letters icon:
Set a size of 68 to 70 , and type one character using your chosen font: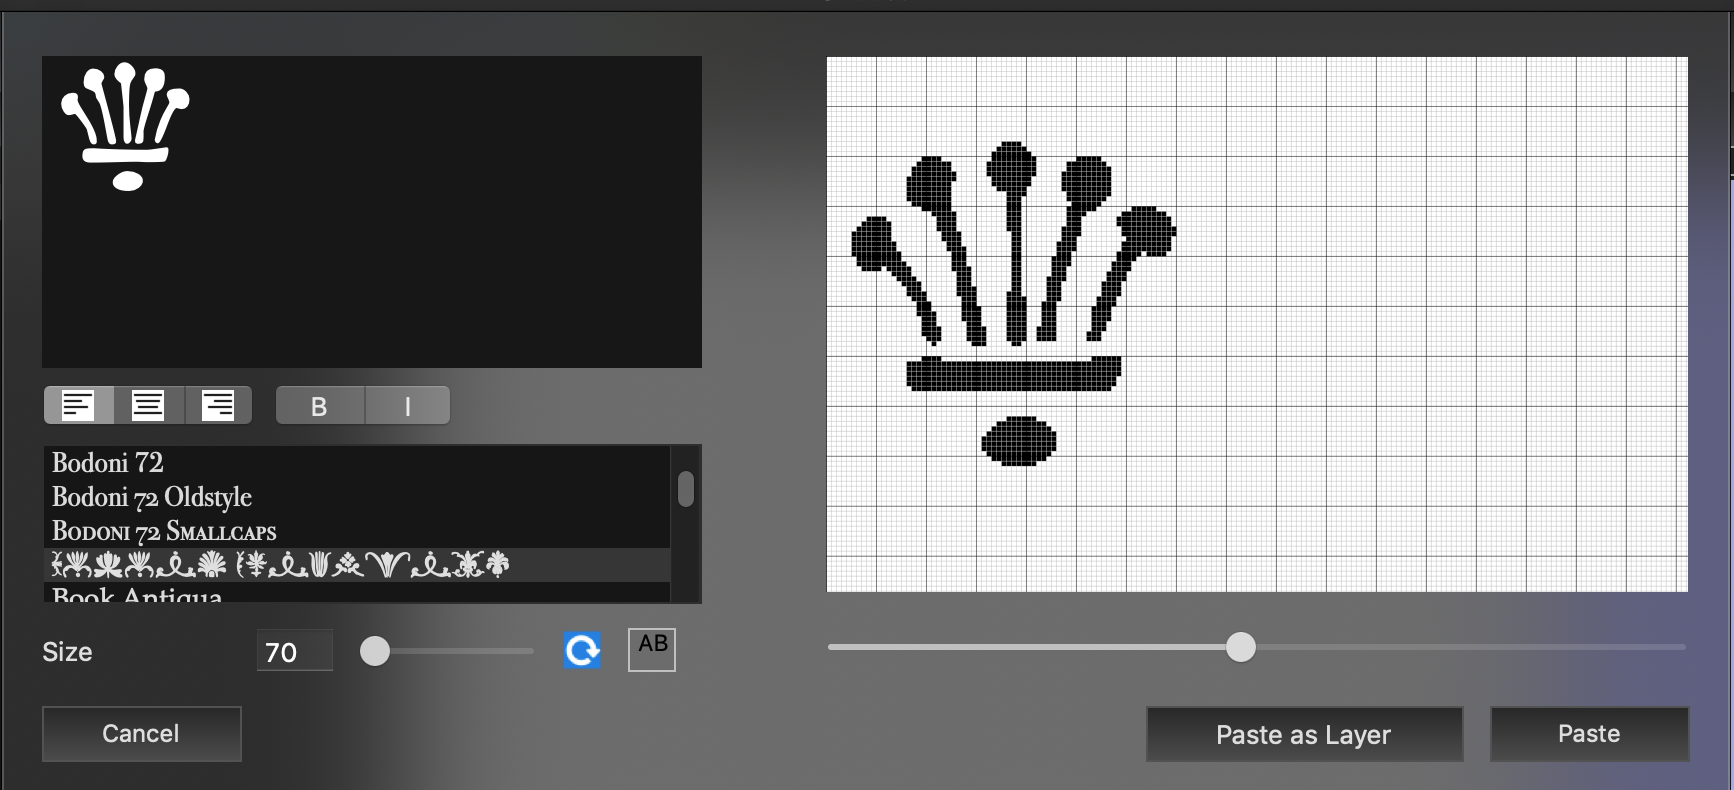
Then PASTE it into the grid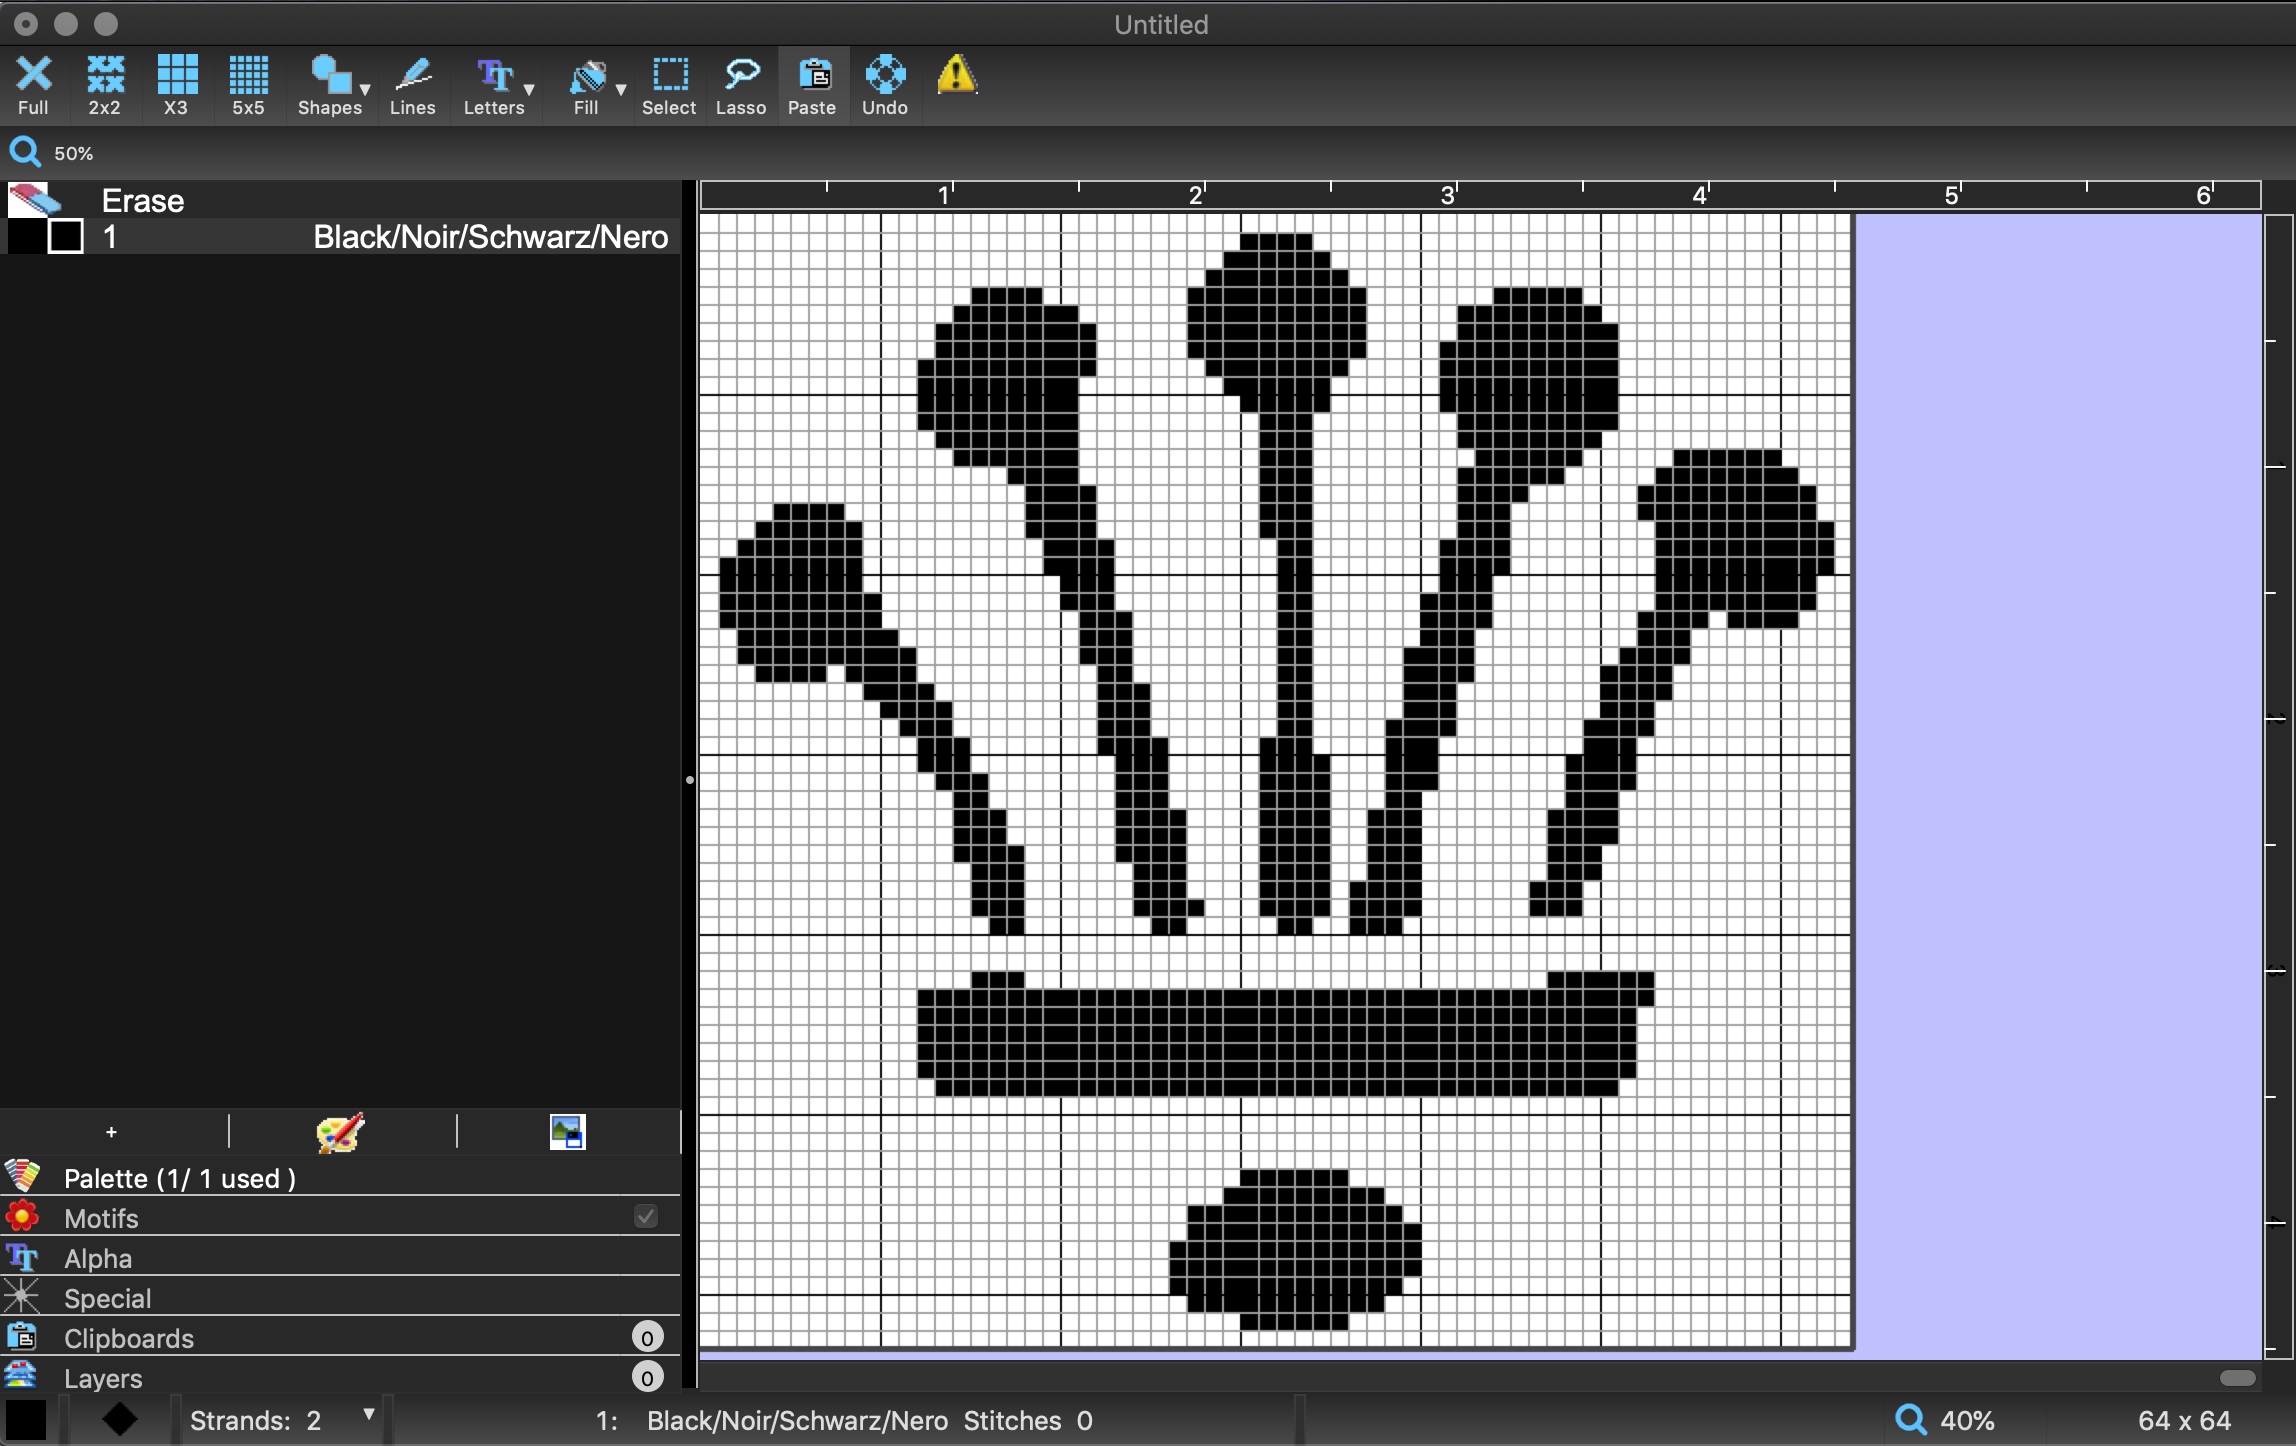
Repeat this selecting and editing until you have changed all you want to change.
Finally, close the window, and you will be asked if you want to save these changes permanently.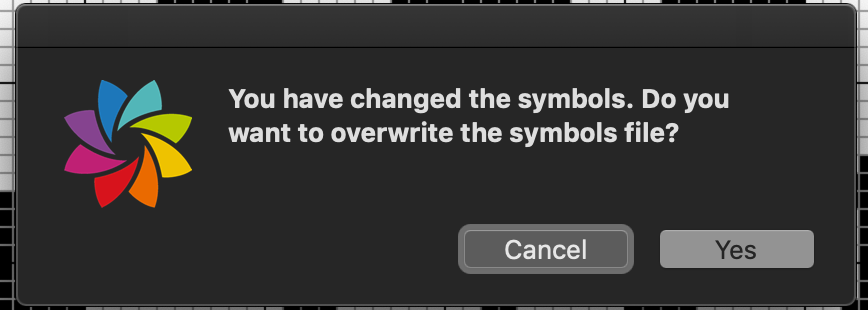
If you want these symbols to appear in the advanced PDF, you must ensure that the preference for 'TTF symbols' is unticked.
And in future, when installing upgrades, you must ensure that you choose not to overwrite the the symbols in the new install.